A walkout basement is usually sold as a feature: a lower level with daylight, a patio door, a view down the lot. From the builder’s side it is something else. It is the one part of a house where a single floor has to be a retaining wall, a frost wall and an above-grade wall at the same time, depending on which side you are standing on.
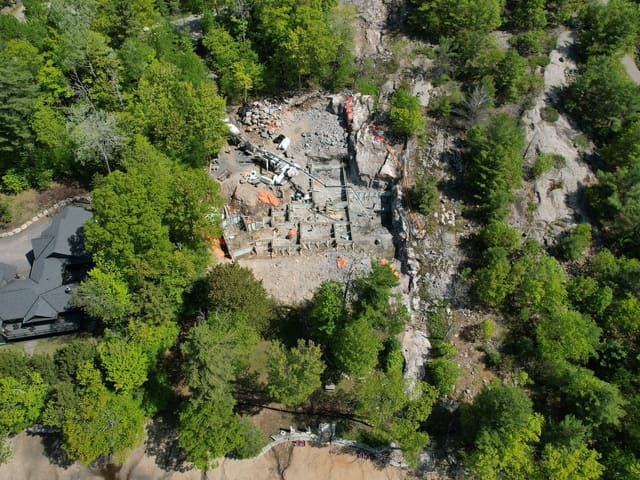
On a Georgian Bay lot that falls toward the water, that is the normal case, not the exception. On the east side the slope often ends in Shield granite. On the south shore it can sit on the flank of the Niagara Escarpment. Either way, the hill decides what each wall of the lower level has to do, and ICF house plans with walkout basement levels work best when they are drawn with that in mind from the first sketch.
None of this makes a walkout hard to build in concrete. It makes it worth drawing properly.
Four Walls, Four Jobs
Walk around a walkout and you meet four different walls.
The uphill wall is buried to nearly its full height. Soil on one side, your basement on the other. It behaves like any basement wall, except there is usually more of it holding back more ground.
The two side walls are buried at one end and open at the other. The backfill slopes along them, following the grade from the uphill corner down to the walkout corner.
The downhill wall is the walkout itself. Mostly above grade, full of glass, and carrying the same load from the floors above as every other wall.
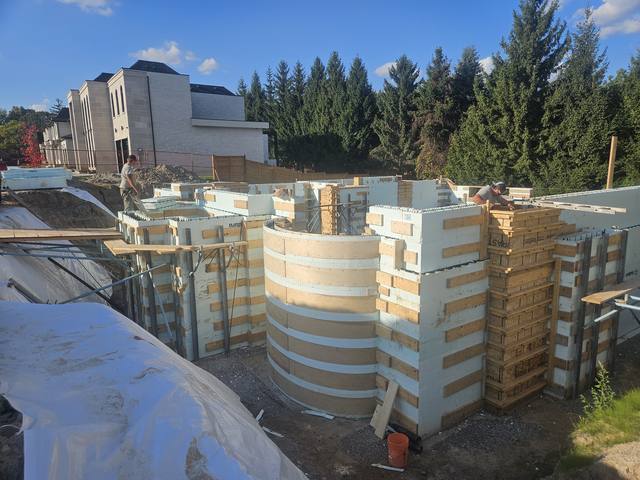
A conventional plan often draws all four the same way, as "foundation wall", and leaves the differences for the site. ICF house plans with walkout basement levels should not. In an ICF build the openings, the reinforcement and the service penetrations are set before the pour, so the plan has to know which wall is which before anybody stacks a block.
The Uphill Wall Is a Retaining Wall Until the Floor Goes On
Here is the part most homeowners never hear about. A basement wall does not hold back the soil on its own. It spans between the footing at the bottom and the floor at the top, and the floor is what stops the top of the wall from being pushed in.
Until that floor is on, the uphill wall is effectively a cantilever. That is why backfill on that side waits for the floor assembly, and why the connection between the two matters. On our foundations, floor assemblies land on engineered ledger and hanger connections specified per project, so the framers arrive to something that is ready for them and the wall gets the support it was designed around.
On a walkout the hill pushes harder on one side of the house than the other. The uphill wall has full-height soil against it. The downhill wall has none. That unbalanced load has to go somewhere, and getting it into the side walls and down to the footings is an engineer’s calculation, not a builder’s guess. A typical home lands on a 6-inch or 8-inch concrete core; on a walkout, the engineering and the site decide which, and how much steel goes in it. We build to the stamp and flag anything on site that does not match the drawings.
What this means for the plan: the uphill wall is the wrong place for a large window well or a wide opening you added late. Every hole in that wall is a hole in the thing holding back the hill.
The Footing Steps Down the Side Walls
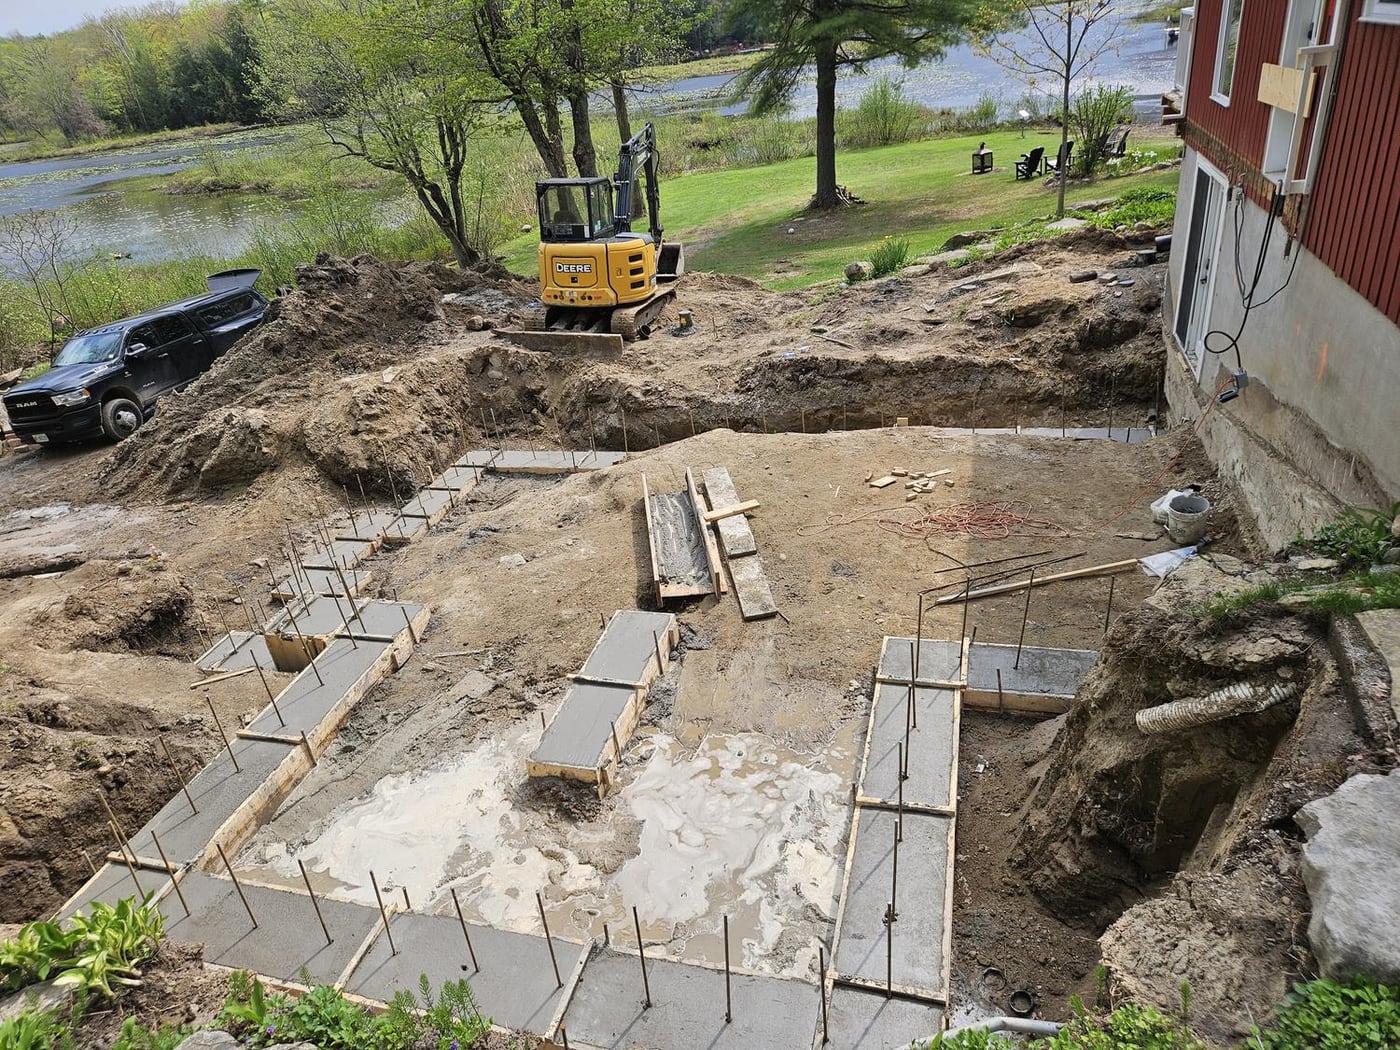
A walkout’s footing cannot sit at one level, and this is where ICF house plans with walkout basement levels have to be specific. Under the uphill wall it is deep, below a full storey of soil. Under the walkout wall it is close to the outside grade. The side walls connect the two, so their footings step: level runs joined by vertical steps, each run bearing on undisturbed ground or sound rock.
The steps are not arbitrary. ICF walls are stacked in courses, and a footing step that does not land on a course line means cutting block to make it fit. Drawing the steps to the course height on paper is free. Finding the mismatch on site means cut block and a course that no longer lines up.
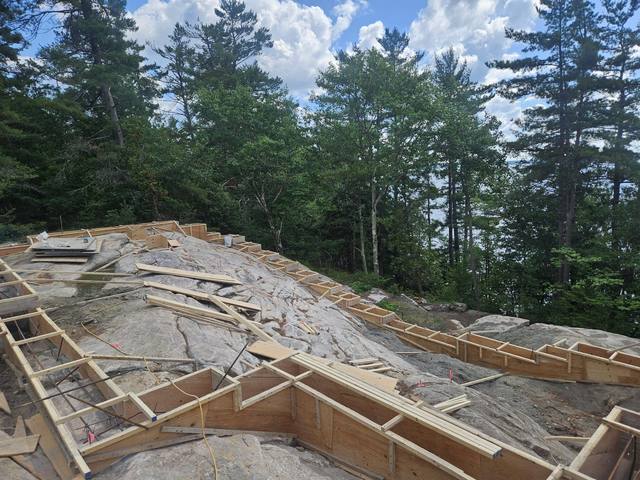
The depth of the low end matters more than people think. The downhill footing sits near the outside grade, which is exactly where frost gets at it. The depth table in Part 9 of the building code, Table 9.12.2.2, sets a 1.2-metre minimum for a footing on clay or soil that is not clearly defined, and no limit at all on rock. That last line is the one that changes a Georgian Bay plan. Where the walkout corner lands on sound Shield granite, the footing can follow the stone instead of being dug down to a frost line.
That is where our bedrock work comes in. We scribe the forms to the stone, or scribe the ICF itself straight onto the rock and pour off that, depending on what the site calls for. On some lots levelling or engineered fill is the better answer, and we will recommend a method after walking it. More on how that is done in footings on bedrock.
The Exposed Wall Is the One You Live Behind
The downhill wall is where the walkout earns its name, and it is the wall that changes the most when you build it in ICF.
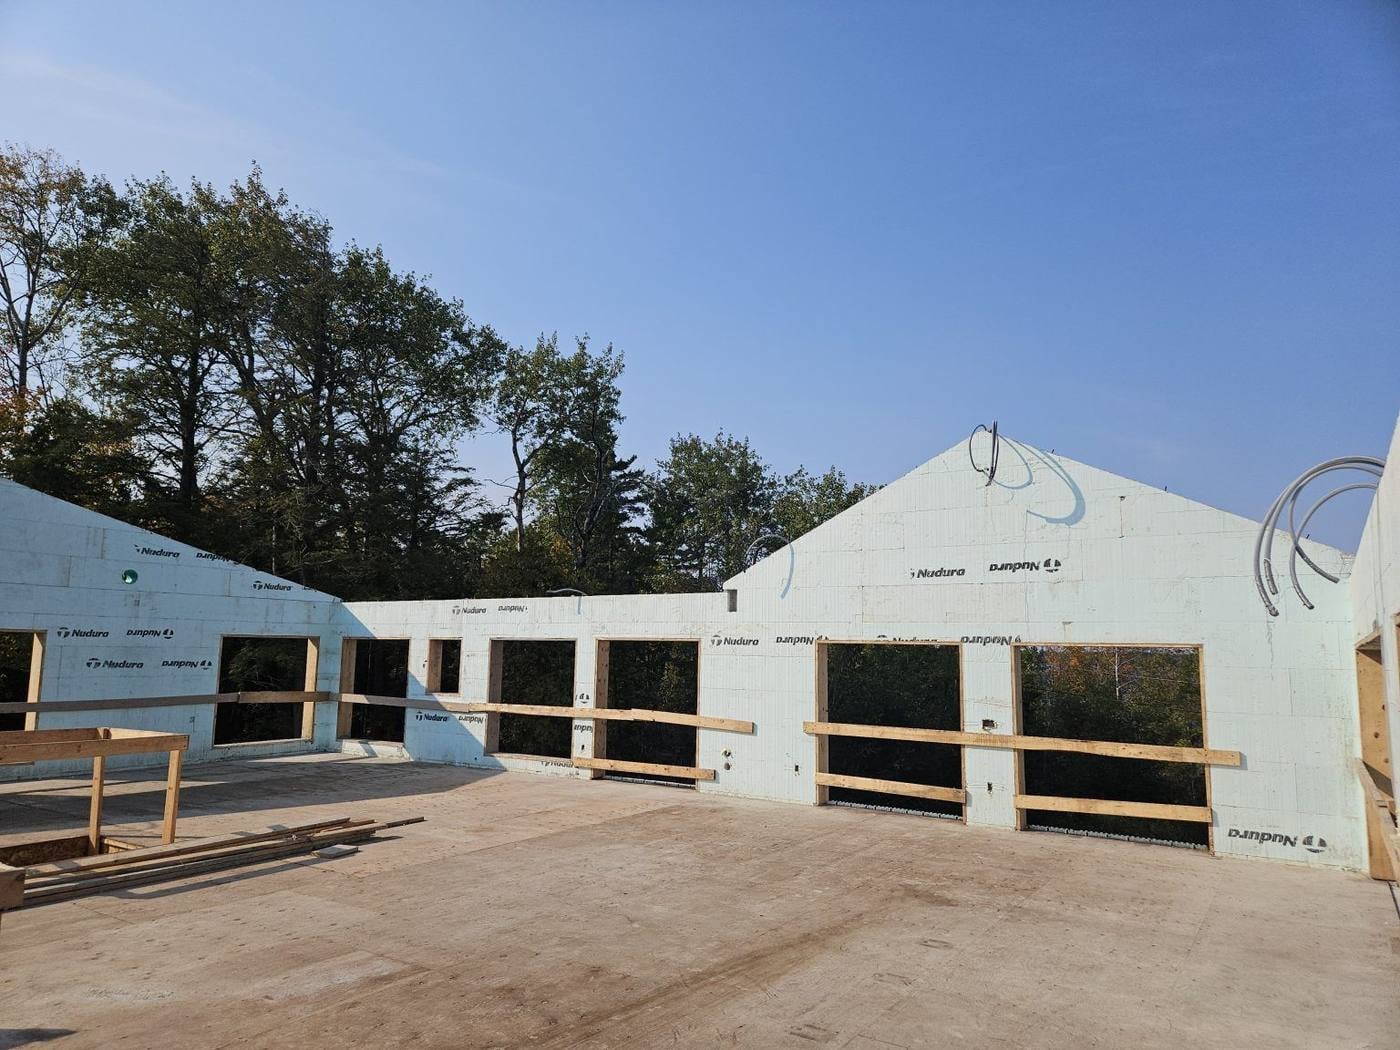
The openings are formed in, not cut in. We form window and door bucks, beam pockets and service penetrations before the pour. Patio door sizes, the height of the lower-level windows and the spot where the hose bib comes through are all fixed earlier than they would be in a framed lower level. Decide them on the drawings, not on site.
Wide glass needs a beam over it. Every opening in a concrete wall spans on a reinforced lintel cast in the wall above. A walkout lined with glass is a walkout lined with lintels, and if a beam or girder from the main floor lands over one of them, that is a question for the engineer before it is a question for the window supplier.
The R-value finally shows. A fully buried basement wall sits against soil that never gets as cold as January air. A walkout wall does not have that shelter. It faces the weather like a main-floor wall, which is where an effective R-22 to R-26 with nothing bridging it starts paying for itself. The number on the block is only half of it. The other half is that it is continuous, with no studs and no gaps at the rim.
The inside is ready to finish. An ICF foundation comes out of the ground insulated on both faces with a fastening surface built in, ready for drywall even below grade. On a walkout, that is the difference between a lower level that feels like a basement and one that feels like the rest of the house.
Where the Water Goes
A slope sends water downhill, and a walkout puts the house across its path. The uphill wall catches whatever runs off the slope above it. The side walls carry it around the corners. The walkout wall is where it all wants to come out.
That is why drainage on a walkout is drawn, not improvised. On our foundations weeper and interior stone go in before the walls go up, so the drainage is in place before there is anything to protect. Exterior waterproofing and drainage are part of the same foundation scope, applied by our own crews, and sequenced in the right order rather than added afterwards.
The line to watch is the side walls. Waterproofing follows the backfill, so on a walkout it stops on a slope, not at a level line. Where it ends, and how the exposed concrete above it gets finished, should be on the plan.
What a walkout usually does not need is more of everything. A second drainage board, waterproofing on a frost wall, membrane under the basement slab: these are the most common things we talk people out of, because the foam faces protect the concrete and the system is already sequenced to do the job.
On the South Shore, the Escarpment Gets a Say
Some Georgian Bay lots have an approval to clear before the building department sees the drawings. The Niagara Escarpment Commission names the Town of The Blue Mountains within its plan area, and on land inside its Area of Development Control, a new single dwelling and altering the grade of land are both on its list of things that need a Niagara Escarpment Development Permit.
A walkout is, by definition, a house cut into a slope. The commission’s FAQ is also plain about the order: municipal building approvals may be needed too, but they can only be issued after the Development Permit. If your lot is on the escarpment, the permit belongs at the front of the schedule, and the commission’s interactive map is where to check whether your property is in the area at all.
That does not change how the wall is built. It changes when the plan is finished and who reads it first, which is a good reason to settle the grading and the walkout before the drawings go out.
Bring the Plan Before the Grade Is Fixed
Most conventional plans convert cleanly to ICF, and ICF house plans with walkout basement levels are no exception. We review your drawings, flag anything that needs an engineer’s input, and coordinate the changes before construction starts.
The useful time to do that on a walkout is earlier than most people expect: before the grading plan is final, before the window schedule is ordered, and before the floor framing is designed around a wall that might need to carry more than it was drawn for. Every one of those is a pencil line on paper and a saw cut afterwards.
If you are earlier still and working out the plan itself, our post on ICF house plans covers wall thickness, 8-inch lengths and 18-inch courses. For a cottage on the water, ICF cottage plans covers what the shoreline and the rock decide. And the ICF foundations page lays out the full below-grade scope we take on.
If you have a lot and a plan, send both with your quote request, along with any site photos. The slope is easier to talk about when we can see it.